How To Edit your Templates
HELLO, THANK YOU FOR YOUR PURCHASE!
Purchased your template and ready to edit? Great, I would love to share some of my helpful tips for making the most of your template. It is an especially easy process and it is very exciting to see what you can create!
FOR PRINTING
To print your instructions, please see How to Prepare your Template for Print for a guide on the printing options available.
PURCHASE YOUR TEMPLATE
- Once you have decided on the templates that you love, add them to your basket and complete your purchase.
- It is important to add your correct email address at checkout, because your Templett access link will be sent direct to your email address (between 5 - 10 minutes) after purchase.
- If you are having trouble locating your Templett access link, please check your junk mail folder.
- If you think you may have entered your email address incorrectly, please get in touch and I will be able to direct you to your templates.
YOUR ACCESS LINK
- After you have completed your purchase and your payment is confirmed, your Templett access link will be sent direct to your email address stored on your profile or provided at check-out.
- If you are having trouble locating your Templett access link, please check your junk email folder or get in touch.
- When you have received your access link email from Templett, the access link will take you to a page where you will need to confirm your account details and set a password for your account. (this is so that you can save your work and access it again later).
Please allow up to 10 minutes to receive the access link email. Generally, the email is sent within just a few minutes though.
LOADING, SAVING & DELETING YOUR TEMPLATES
1. Loading your templates
Loading your template is very easy. In the left side of the Design area, you'll see the Templates pane already visible and open when you first load the page. You'll see all of your templates in this section in thumbnail form. You can scroll through them if you have many.
To load a template, click the thumbnail image. The template will then load onto the design area and you can start editing it.
2. Saving your templates
We recommend saving your templates often while you are working on them. Saving your template is easy. When you are ready to save your changes, click the Save button in the top left section of the screen.
We do not save versions of your template. You'll only have the latest version. If you need to revert your template back to it's original state and you do not see that option available in your design area, get in touch with us. You can also make use of the "save as" button to save another copy of your design.
Important: refreshing the browser page will lose any changes made since the previous save. Be very careful about refreshing the page or navigating away from the application.
3. Deleting your templates
We generally don't advise deleting your template unless you know for certain that you will never want to use that template again. Once deleted, you cannot get that template back.
To delete a template, hover over the template thumbnail in the Templates pane and you'll see a red trash can icon in the lower left corner of the thumbnail image. Click that trash can icon to delete the template. It will then be removed from your Templates pane.
EDITING YOUR TEMPLATES
1. Editing text
Editing text boxes in your template is easy. Anywhere you see text on your template, that's a good chance that it's editable text that you can click, change the text, color, font, etc.

2. Editing a text box

3. Deleting a text box
To delete a text box, either click the text box to select it or drag across the text box to select it. Then simply click the delete button in the toolbar or click delete on your keyboard.

4. Changing the font in a text box
To change the font in a text box, select the text box by clicking it once to change the font for the entire text box or select the text in the text box that you want to change if you are only changing the font for some of the text in the text box.
Next click the font drop down menu in the toolbar and select a new font.

5. Changing the colour of the text
To change the colour of text, you can change the entire text box colour or the colour of specific text within a text box. To change the entire text, click once on the text box to select it, then select the colour from the colour box in the toolbar.

USING GLYPHS
1. What's a glyph?
Glyphs are extra characters that you can use in fonts. These characters can allow you to use accent marks with letters, access other language characters, and even add more decorative letters to use in your fonts.
Take a look at the example below where we access glyphs to add some decorative letters at the beginning and end of the word.
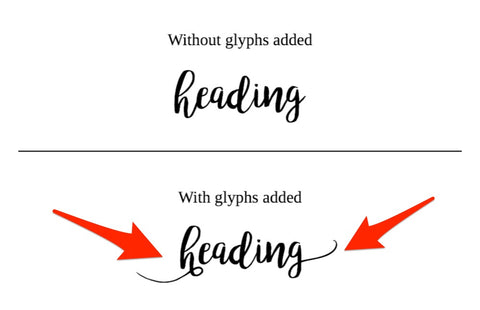
It's important to know that not all fonts have extra glyphs.
2. How to access the glyphs in a font
Accessing glyphs in a font is very simple in Templett.
1. First, select the text box that you want to edit by clicking it twice to put it in editing mode. You'll know it's in editing mode when it's outlined in a green dashed line. Edit the text so it's displays what you want.
2. Put the cursor where you want the glyph to appear and select the glyph from the Glyph Panel. The Glyph Panel button is located right next to the font dropdown. See image below:

That's it. When you open the Glyph Panel, you'll see all of the glyphs that the font supports. As you hover over the characters in the Glyph Panel, they will enlarge so you can see them better.
UPLOADING IMAGES
You can upload images that you can then add to your templates. PNG, JPG and SVG files are supported with a max file size of 5MB.
How to upload images:
- Click the Images pane on the left side of the design area.
- In the Images pane, either drag and drop an image file into the upload area or click the upload area to select the image files from your computer.
- Once the file has been uploaded, click the image to add it to your template. It will be added to the current selected page (if the template contains multiple pages).
ADD OR EDIT THE BACKGROUND
You can add a background to your template. This can be either a solid colour or an image.
Click the Backgrounds pane on the left side of the design area to open it. You'll see options for adding a background. You'll see the colour palette where you can choose colours and you'll also background images that you can select.
1. Adding your background
Backgrounds are set on a per page basis. Select the page of your template that you'd like to set the background for first.
2. Editing the background
3. Deleting the background
To delete the background on your template, open the Backgrounds pane by clicking the Backgrounds menu item on the left side of the design area. Then click the red trash can icon in the Backgrounds pane. Be sure that the page is selected in the design area first.
HOW TO UNDO CHANGES
In the upper left corner of the screen, in the top menu bar, to the right of the Save (or Options) button, you'll find the undo button. Click the undo button when you want to undo your last design change. You can undo multiple changes with repeated clicks.
Be sure you have the correct page selected before undoing the change.

Note: you cannot undo changes after you've exited the design area. Also, there is no redo function so make sure you actually want to undo the change before doing so.
CHANGING THE SIZE OF YOUR TEMPLATE
You are not able to change the size of your template so we highly recommend purchasing a template in the correct size that you need or requesting for the size that you require to be added for you. If you need a custom size, we can accommodate you.
QUESTIONS?
Please send an email to danielle@makemedigital.shop. For more detailed instructions, please refer to your instruction document provided with your purchase.
FOR PRINTING
To print your instructions, please see How to Prepare your Template for Print for a guide on the printing options available.
Create your stationery in 3 simple steps
-
Access Template Design
All of our templates (except envelope liners) are editable in your browser. After checkout you will receive an access link in your emails to edit your templates.
-
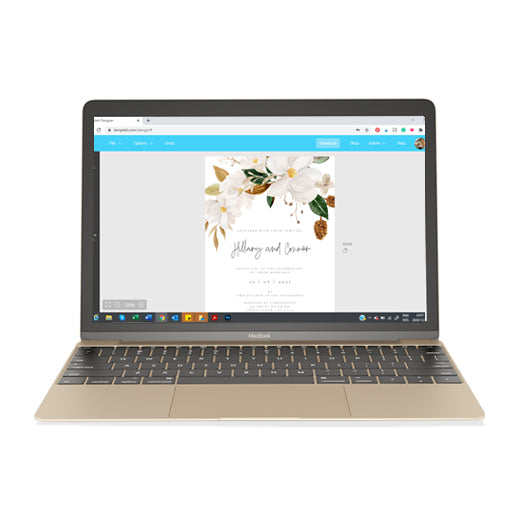
Personalize and Download
Once opened in your browser, customise your templates to your personal taste. We've included a detailed instruction guide with tips on editing, printing, trimming, and more.
-
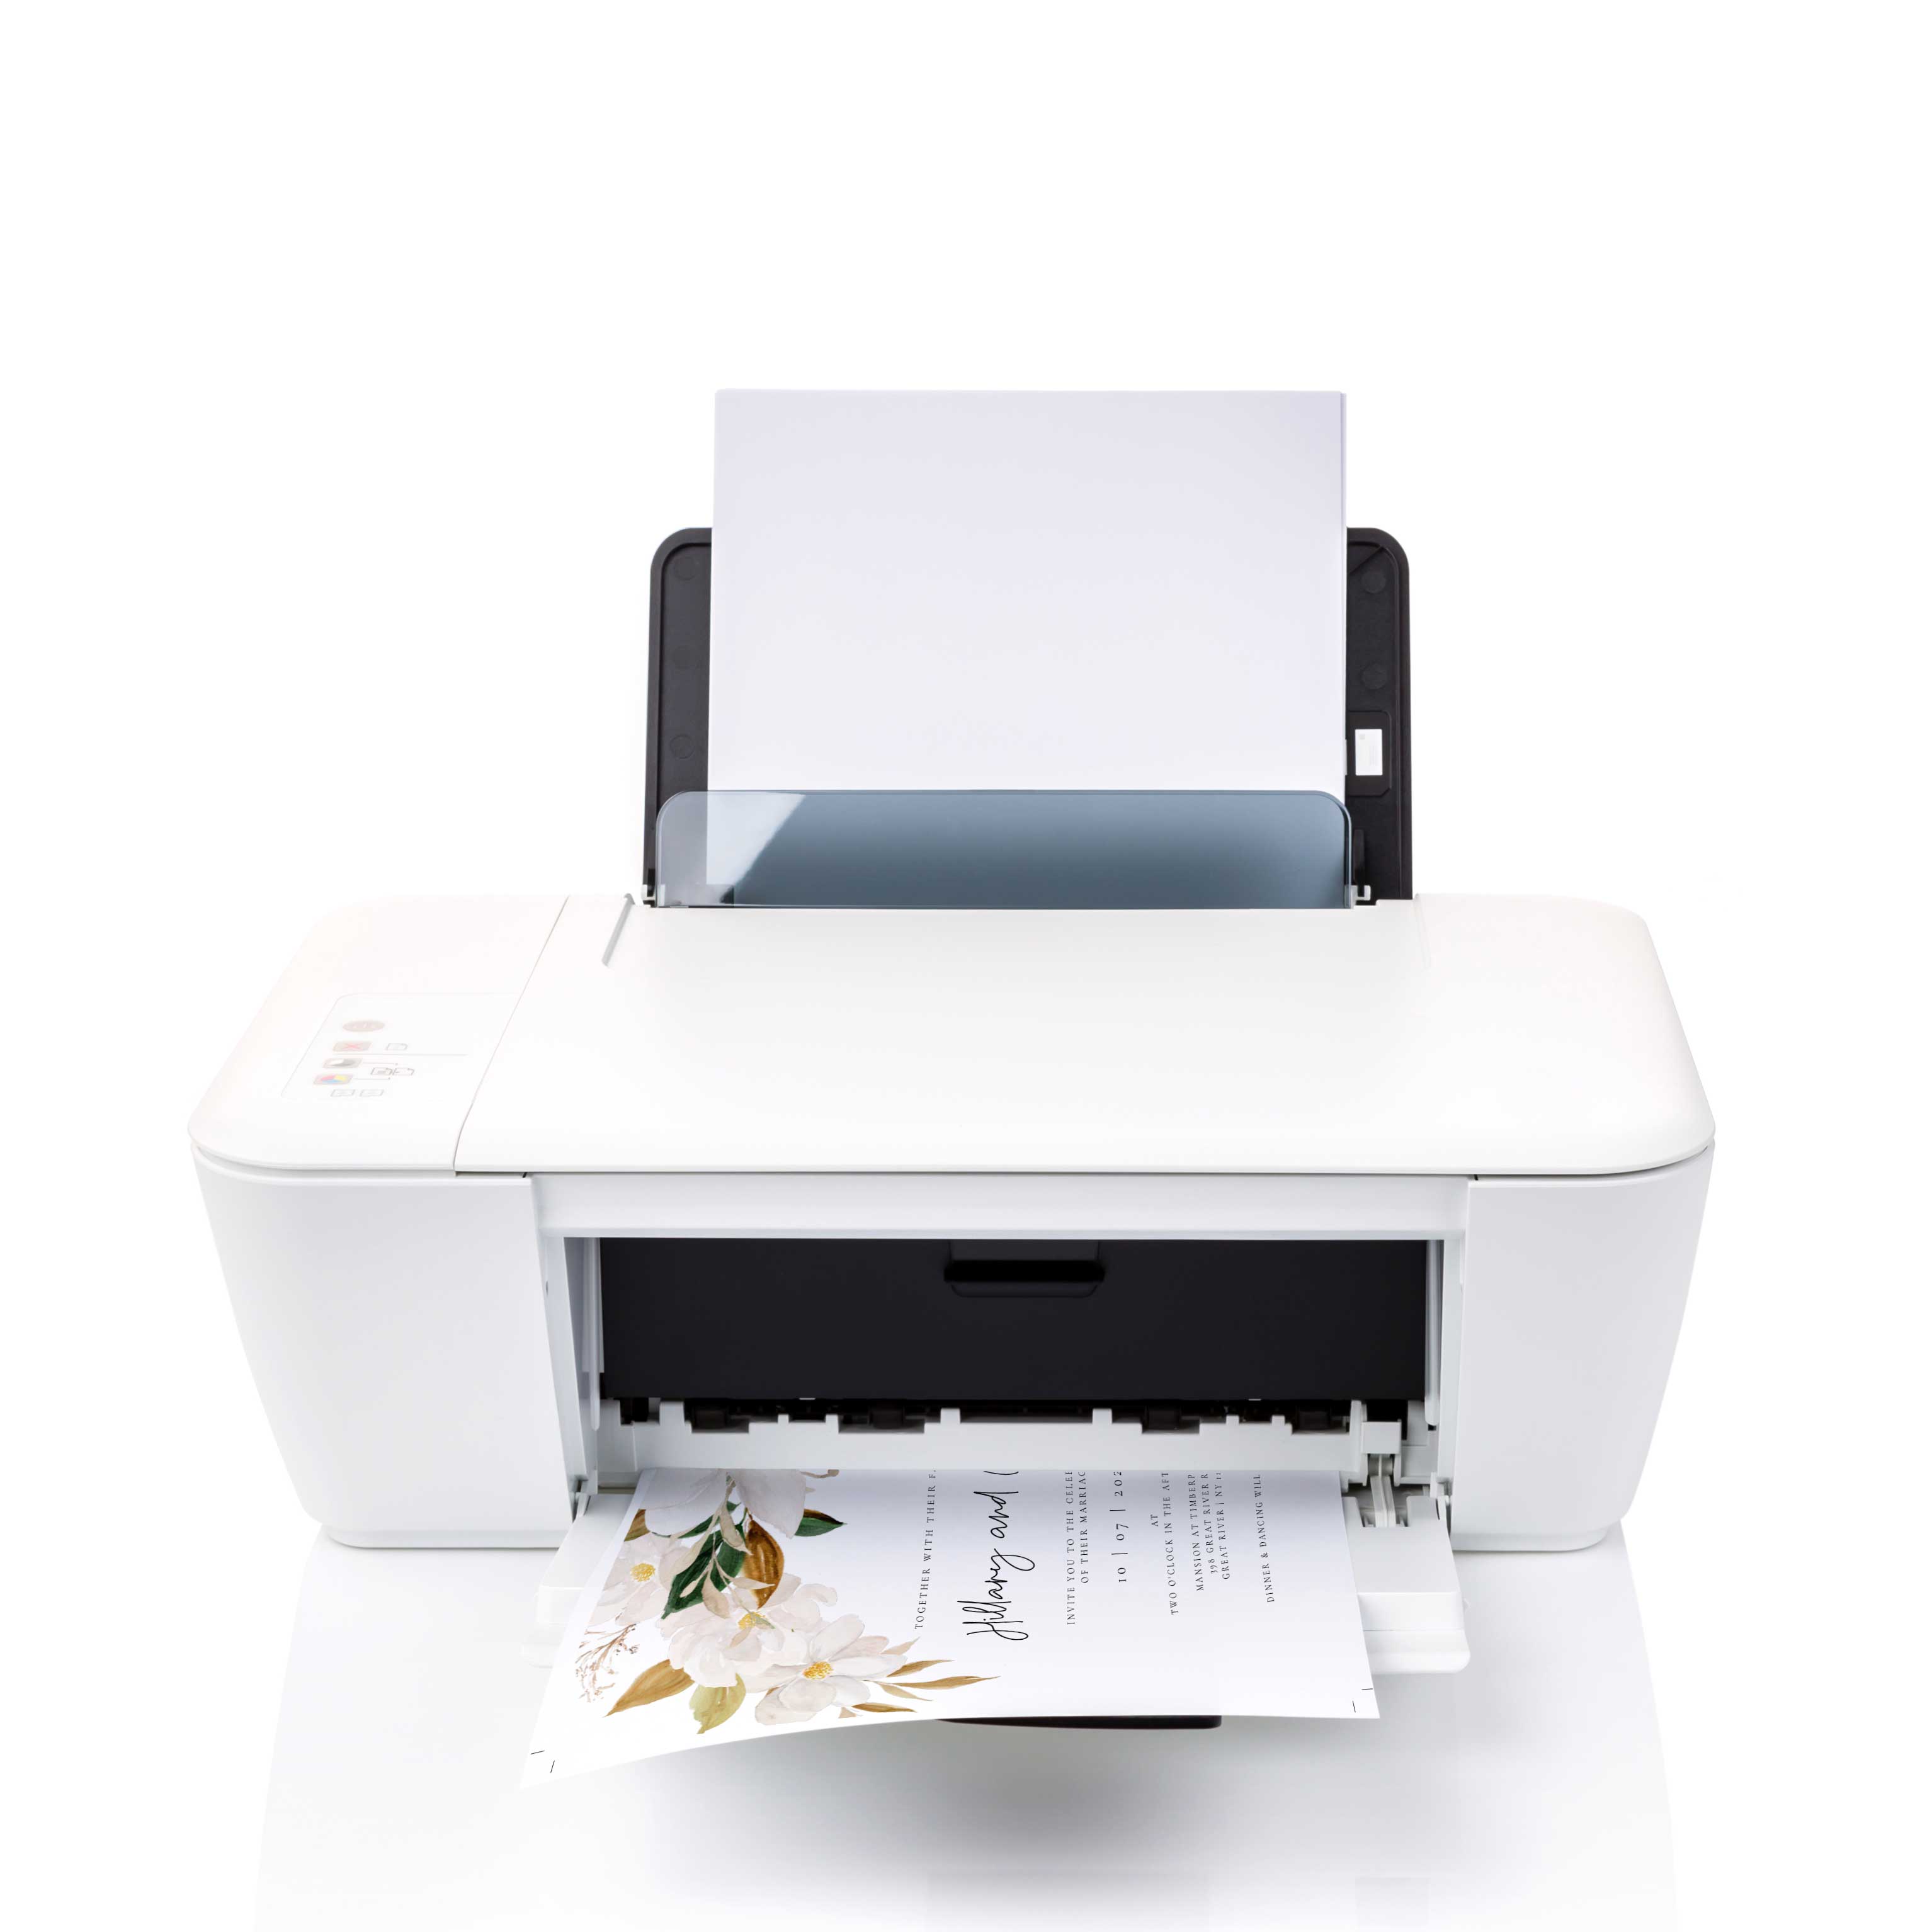
Print & Display
Once downloaded, print your templates at home or at a print shop of your choice. Trim the stationery and get ready to impress everyone with your beautiful paper goods.

